Installation and grout guide
Before beginning installation, check all boxes carefully for any signs of damage during transport. If an issue is found, please contact us immediately so it can be resolved before work starts. Each Tiles by Muller Van Severen piece is individually hand-glazed, resulting in rich variation and natural movement across the surface. To achieve a balanced and harmonious result, we recommend blending tiles from several boxes before installation. Slight differences in size or thickness, typically within 2–3 mm, are inherent to the handmade process and should be considered a feature, not a flaw.
Prepare the substrate so it is clean, dry, level, and fully cured before application begins. Because of the tiles’ natural variation, plan for approximately 1.5 to 2 times more adhesive than a standard ceramic installation. A flexible, high-quality tile adhesive is essential for a lasting result; we recommend professional systems from Mira, such as Superfix, or from Litokol, such as Starlike EVO. A 10–12 mm notched trowel is typically ideal for achieving even coverage.
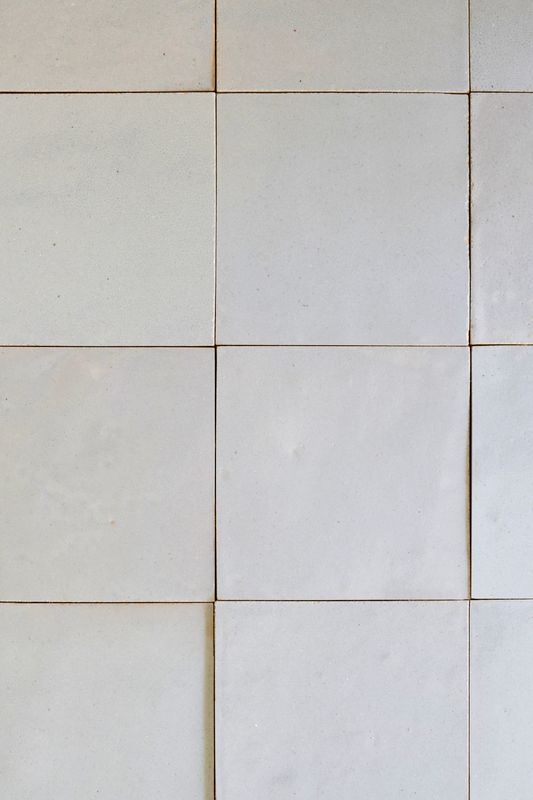
Treat the installation as you would a mosaic. Place each tile by hand, rotating and adjusting as needed to ensure the best fit and surface flow. For the most refined and authentic finish, true to traditional Moroccan craft, install with very tight joints, approximately 1 mm. Before setting, immerse the tiles in clean water for around five minutes to reduce premature absorption of moisture from the adhesive, allowing them to drip dry briefly before application. For clean, precise edges, use a traditional tile cutter or wet saw, especially on visible cuts and corners.
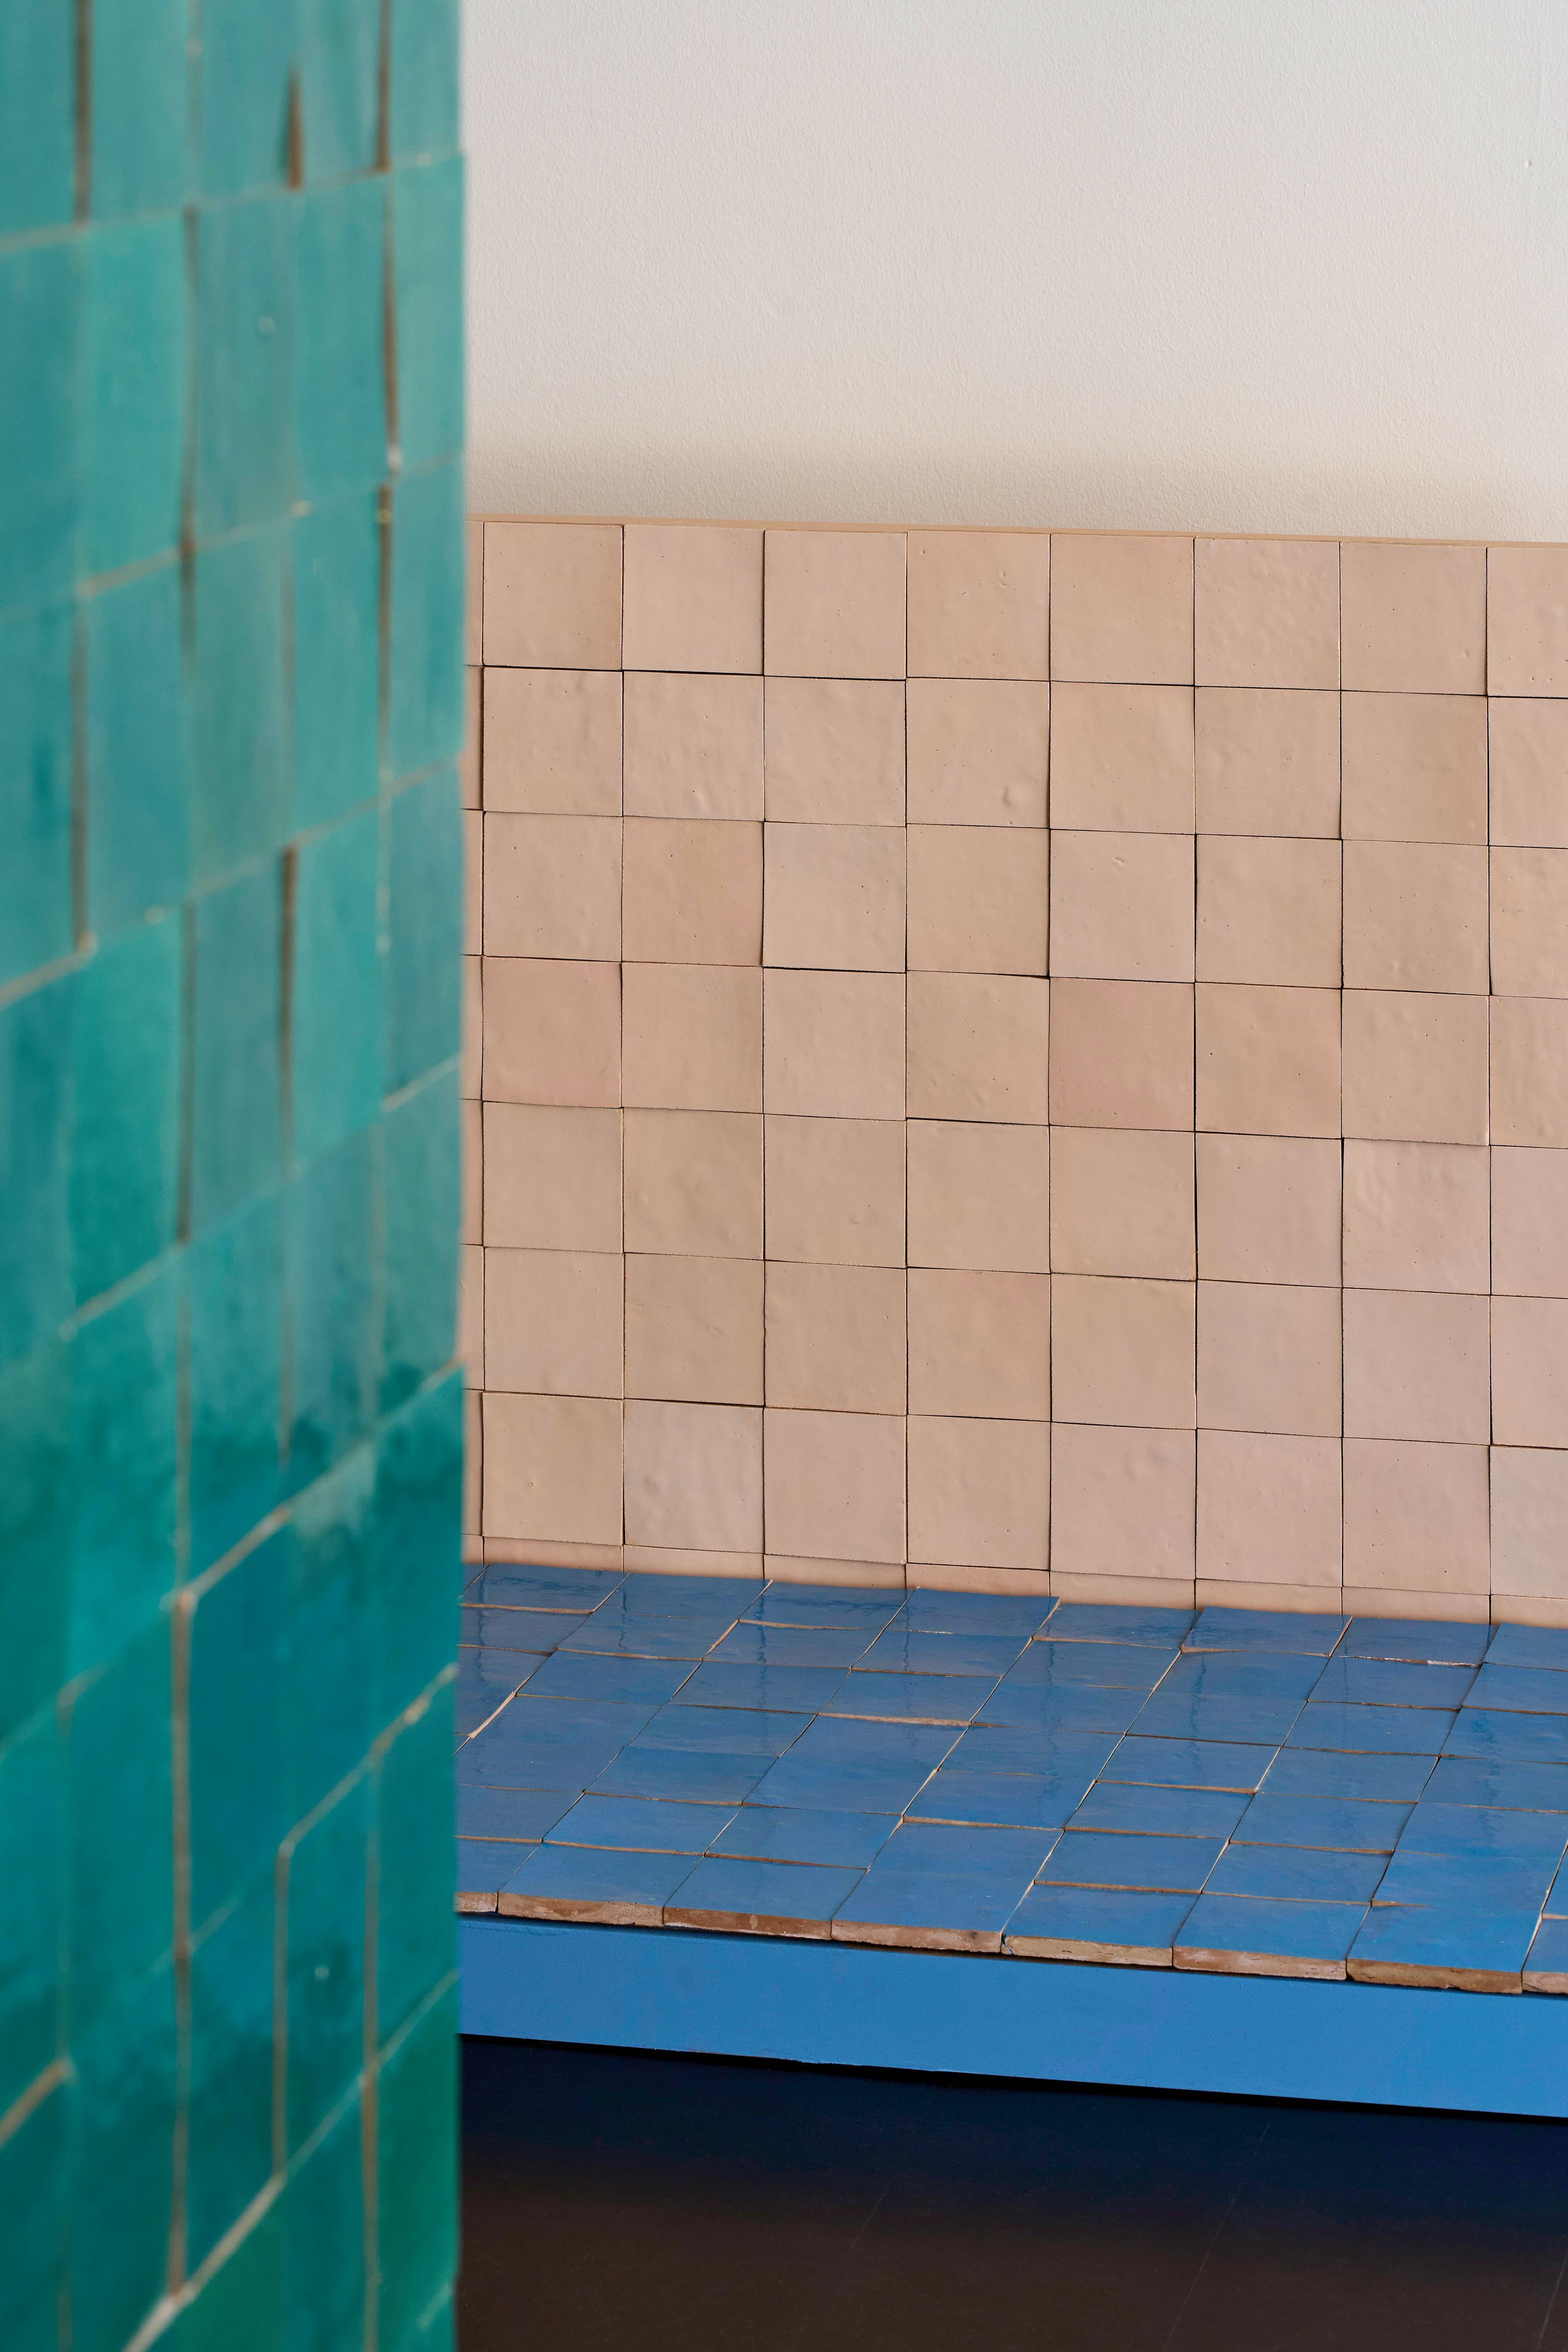
Because Tiles by Muller Van Severen are handcrafted, each surface bears traces of the process that created it. Subtle irregularities, tonal shifts, and variations in texture are integral to their character. This is a tile that rewards patience and attention to detail. When installed with care, the result is a surface of exceptional depth, tactility, and presence, one that reflects light softly and evolves beautifully over time.
Unlike standard ceramic or porcelain tiles, these zellige-style pieces are traditionally installed without visible grout lines. The edge-to-edge placement enhances their hand-cut character and creates a continuous, organic surface. Once installation is complete, apply a fine grout wash across the surface in a colour closely matched to the tile. This will fill any small gaps, pinholes, or natural pores, improving durability and ease of maintenance without interrupting the overall visual flow.
For grouting, Blēo recommends products that balance strength with subtlety of finish, such as Mira Supercolor Excellent or Litokol Starlike EVO. Both offer smooth application and refined tonality, allowing the natural beauty of the glaze to remain undisturbed.
The colour of the grout plays an important role in the final expression. A tonal match allows the surface to read as one unified field, while excessive contrast may break the visual rhythm or highlight individual tiles too sharply. For this reason, we advise choosing a grout that blends seamlessly into the surface, allowing colour, light, and craftsmanship to define the space.